Over the years, I've encountered many crypto enthusiasts, whether on the streets or at events. Our discussions frequently touch upon two main points:
- Many readily showcase their crypto portfolios on their phone apps, but, concerningly, a large portion of these assets remains unprotected.
- When I advise using a hardware wallet for increased security, the common response is, "I've thought about it, but it seemed too complicated.
This belief is not accurate.
Hardware wallets are not as complex to set up as you might think.
Investing a bit of time initially to set up and transfer your crypto to a hardware wallet is well worth the security and peace of mind. Imagine the relief if your primary exchange went offline or bankrupt, just look at what happened with FTX!
I recently bought a Trezor model T, a widely popular and trusted hardware walled. It's a little flashier compared to other models in the Trezor range, but has some really cool extra features that justify the extra investment.
This article will guide you through the entire process of setting up a Trezor model T hardware wallet in the safest way and then, transferring your crypto into it.
We'll go from unboxing to initial setup, securely storing your seed phrase, and finally, tucking it away with a sense of accomplishment.
BUYING
When it comes to buying a hardware wallet, there's one cardinal rule you must follow: always purchase it directly from the manufacturer's official website.
Never—I repeat, never—buy your wallet from third-party platforms like eBay or Amazon.
The reason for this is simple yet alarming: there have been cases where unscrupulous sellers have unboxed the wallet, recorded the seed phrase, and then repackaged it for sale. This means they can potentially access and steal your cryptocurrency later.
To stay safe, always buy directly from the official manufacturer.
UNBOXING
1. Check For Tamporing
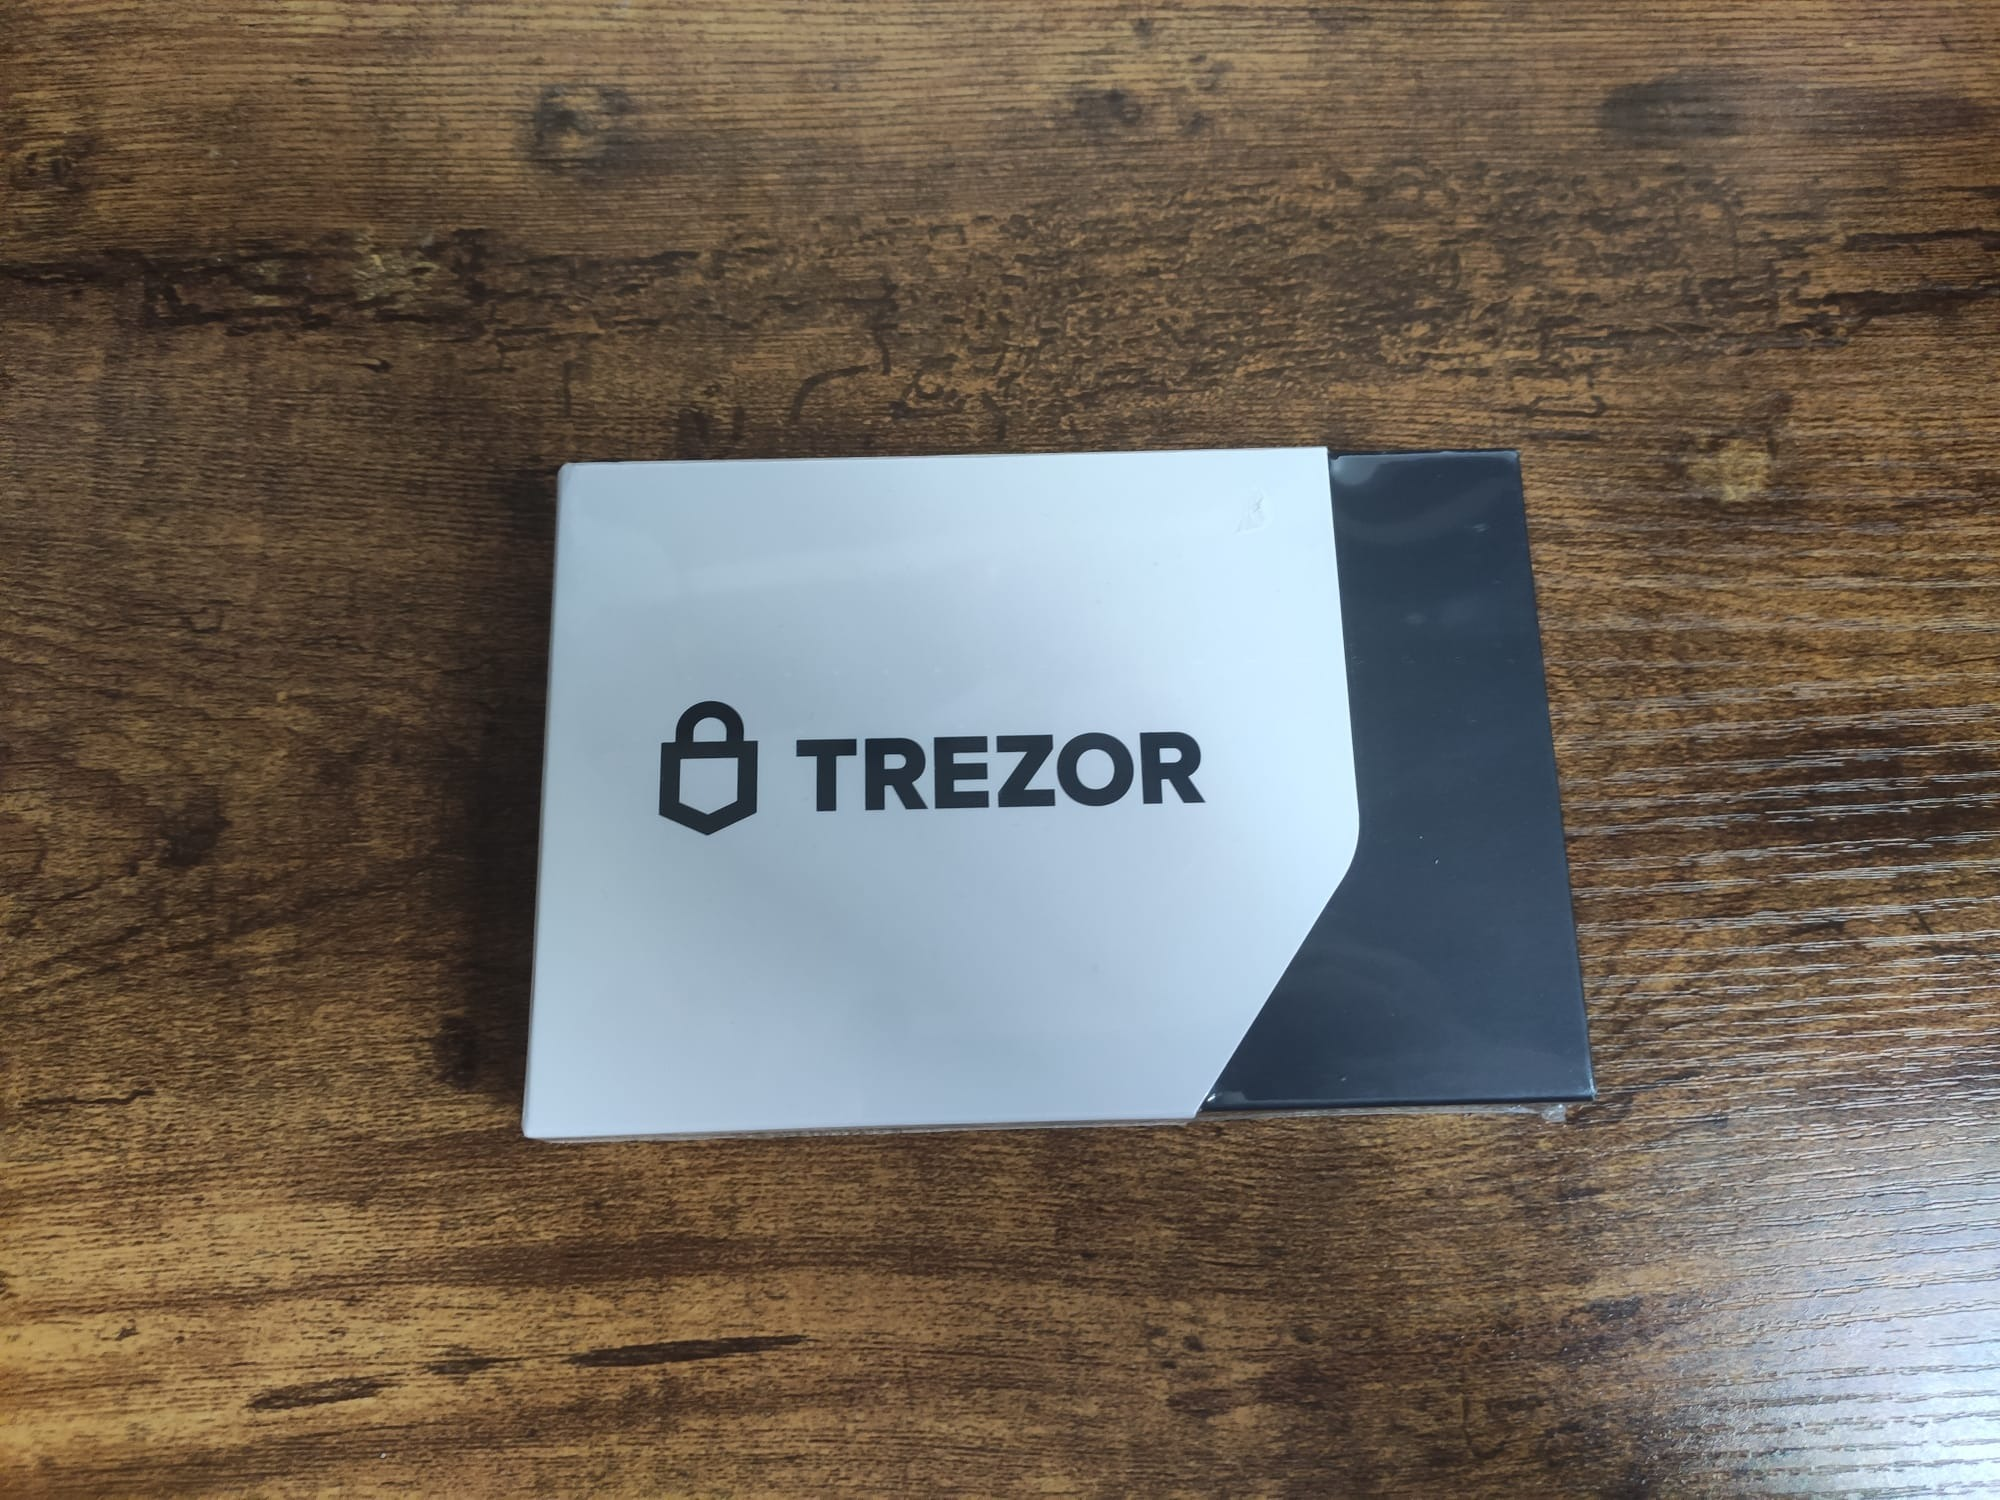
Once your wallet shows up, give the packaging a thorough check. It should be untouched with a clear seal. If anything looks suspicious, don't even think about using it - send it back ASAP for a replacement or refund.
2. Open The box
Now, let's get to the exciting part: opening the box to see what's inside.
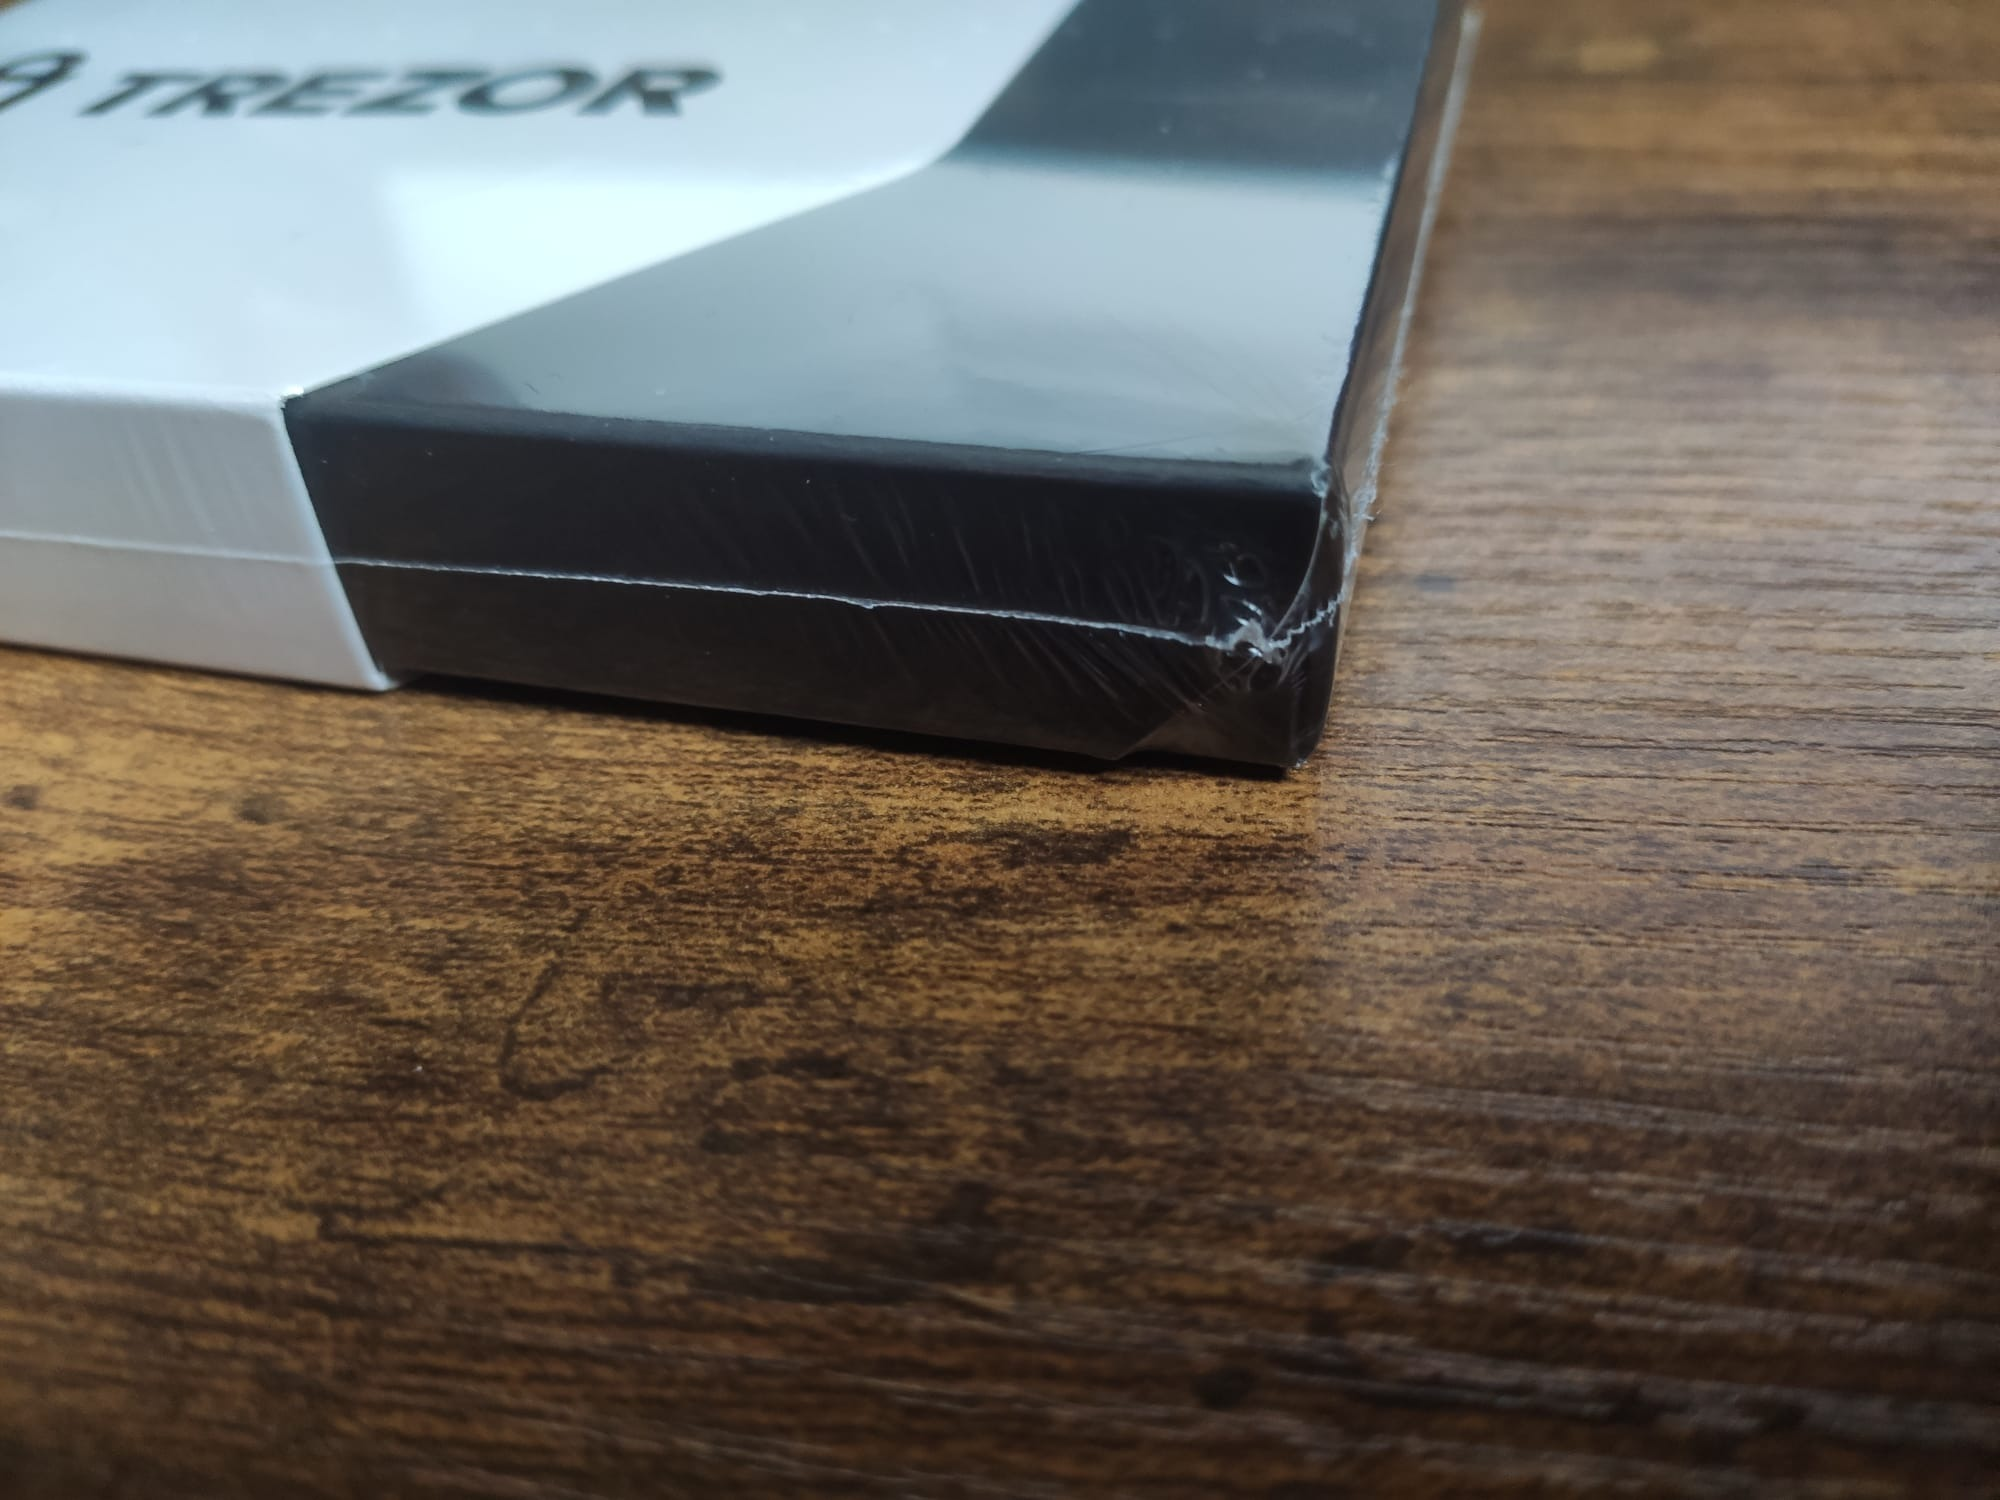
Start by gently peeling off the plastic wrap. These boxes are tightly sealed, so it might give you a little resistance. If needed, make a small incision along the top edge to help you access the contents more easily.
Quick heads-up: be careful if you're using something sharp like a utility knife. Always keep these tools out of reach from kids and pets!
3. Examine The Contents
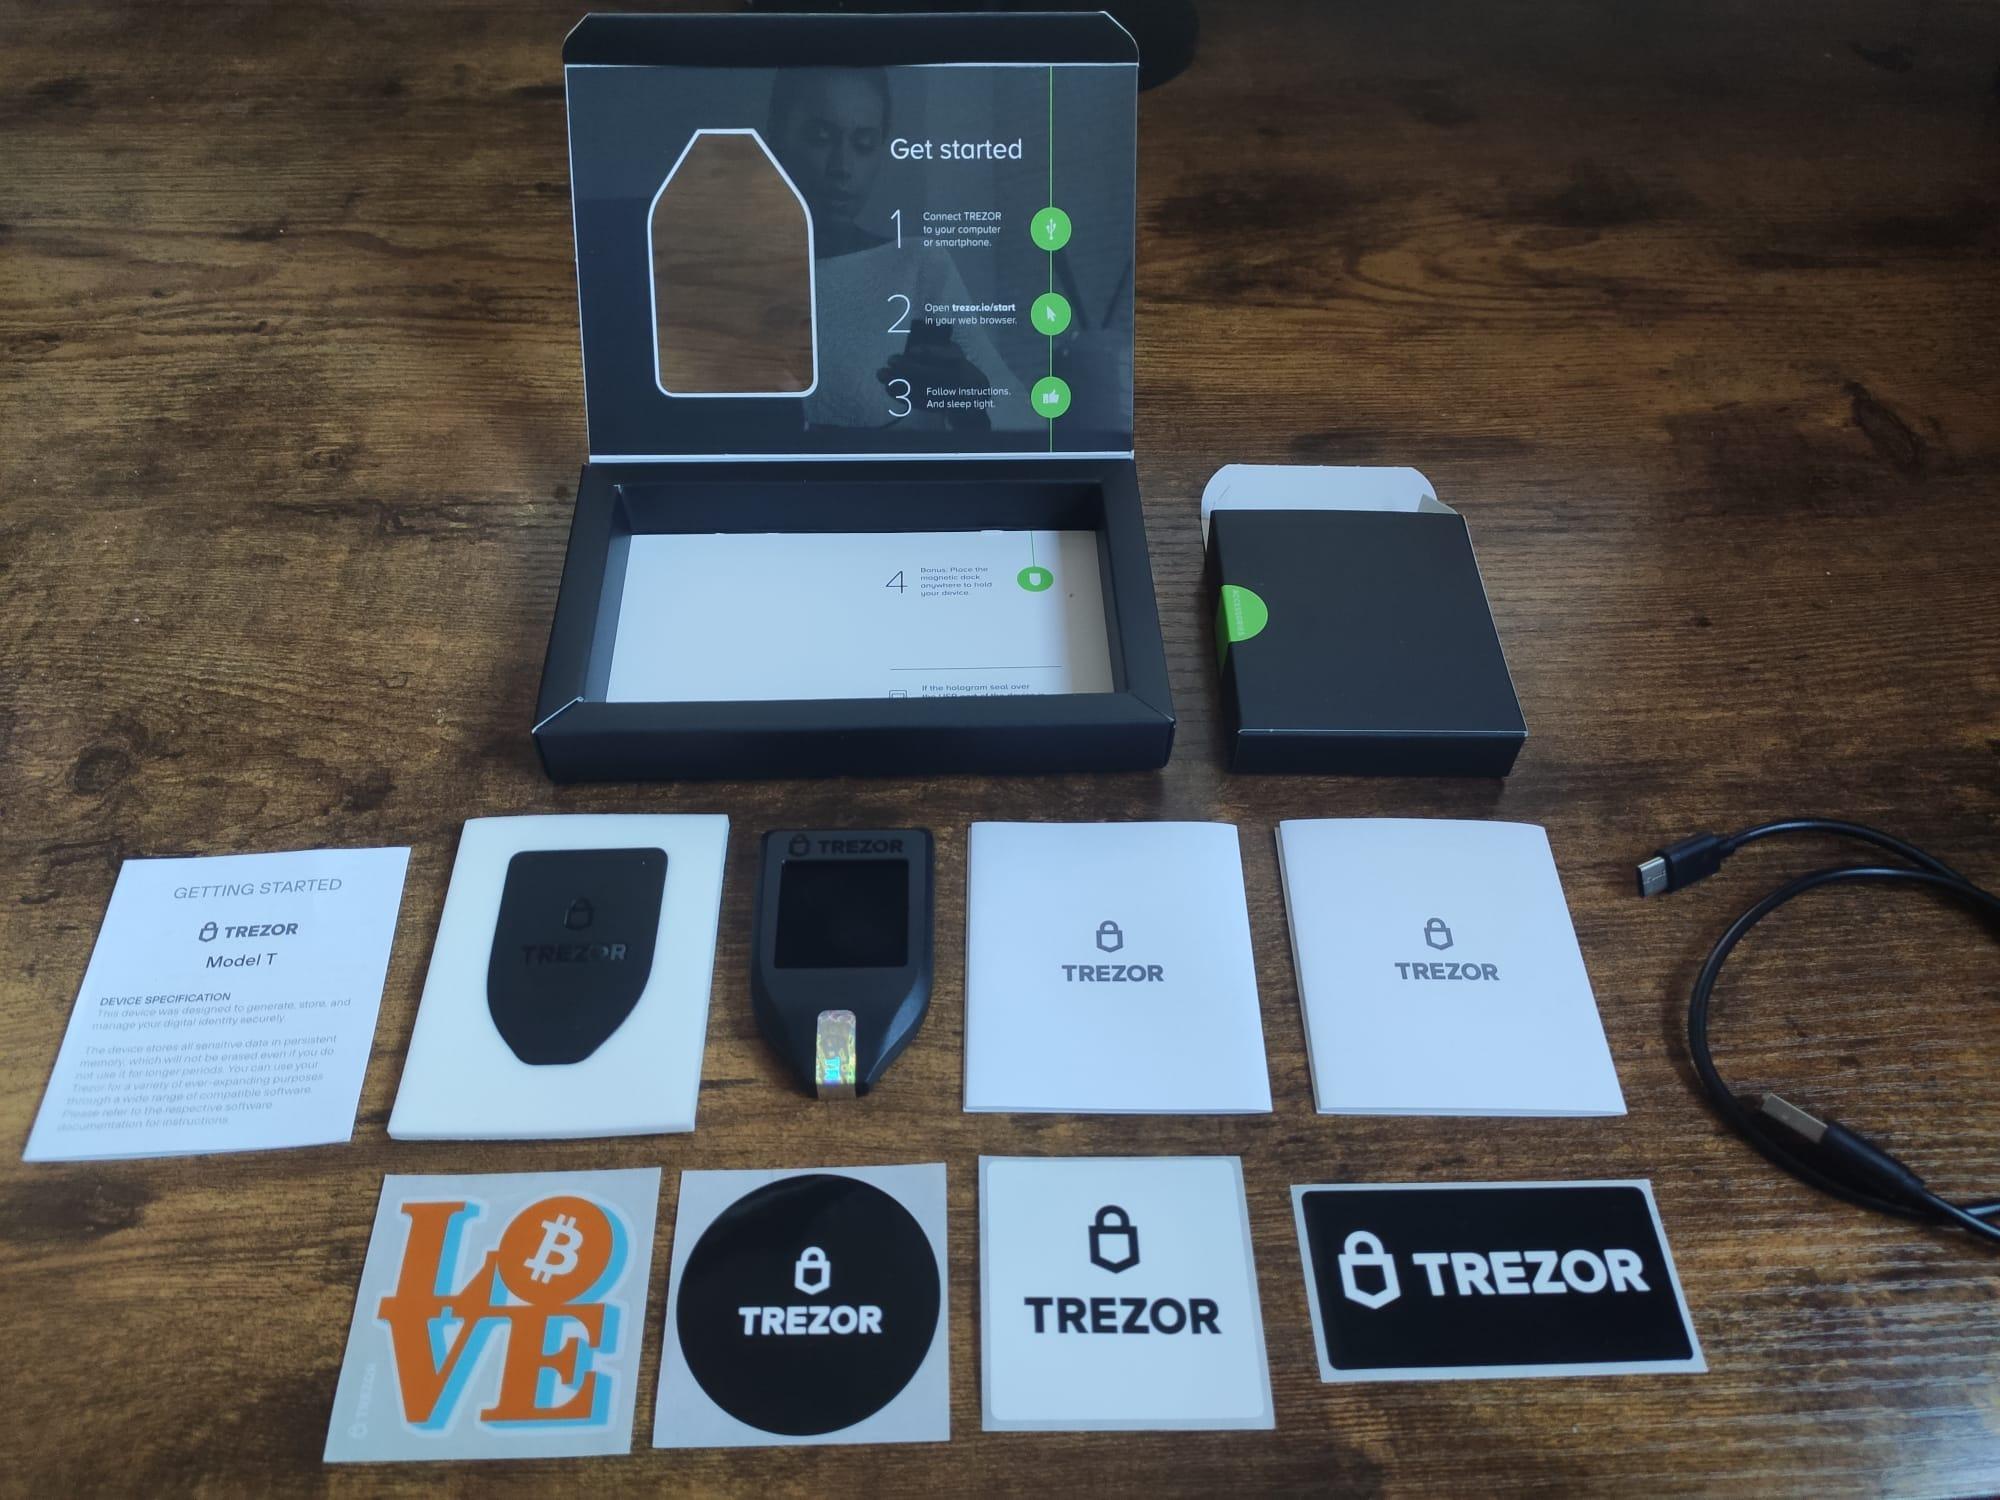
Now let's take a look at what's inside the box. First, you'll find a micro USB cable, which you'll use to connect the wallet to your computer.
Also inside, there's a Getting Started guide, which you'll definitely want to reference when setting up your wallet. And a fun little addition: some Trezor stickers. If you've got young kids, or nieces or nephews, like me, these stickers are an instant hit. Or hey, jazz up your laptop with them.
Among the most important items in the box is a pair of cards for recording your personal recovery seed.
The seed is a kind of password used to recover your digital assets, in case you lose, damage or replace your Trezor. The reason you have two cards is to ensure you have a backup. Losing your seed phrase means losing access to your wallet, a risk you definitely don't want to take.
We'll delve into the nitty-gritty of setting up that recovery seed once we've finished setting up.
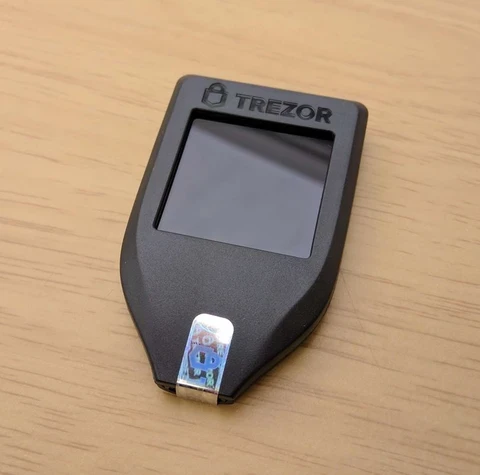
4. Remove the Trezor’s Protective Cover
Now, let's move on to the main event - the Trezor Model T device itself. It comes with a protective cover on the USB slot, which we'll remove in order to connect to our computer.
SETTING UP
Pick a calm, distraction-free spot for this task. The best time is probably when the house is all yours - maybe when the kids are off to school and your partner's engrossed in Netflix.
If you're even thinking about setting up at a café or on public Wi-Fi, think again and have a long hard think as to whether crypto is for you.
1. Download Trezor Suite
Now it's time to set up your new Trezor Model T hardware wallet. As indicated on the inside of the box, your first stop is the Trezor website, more specifically, trezor.io/start.
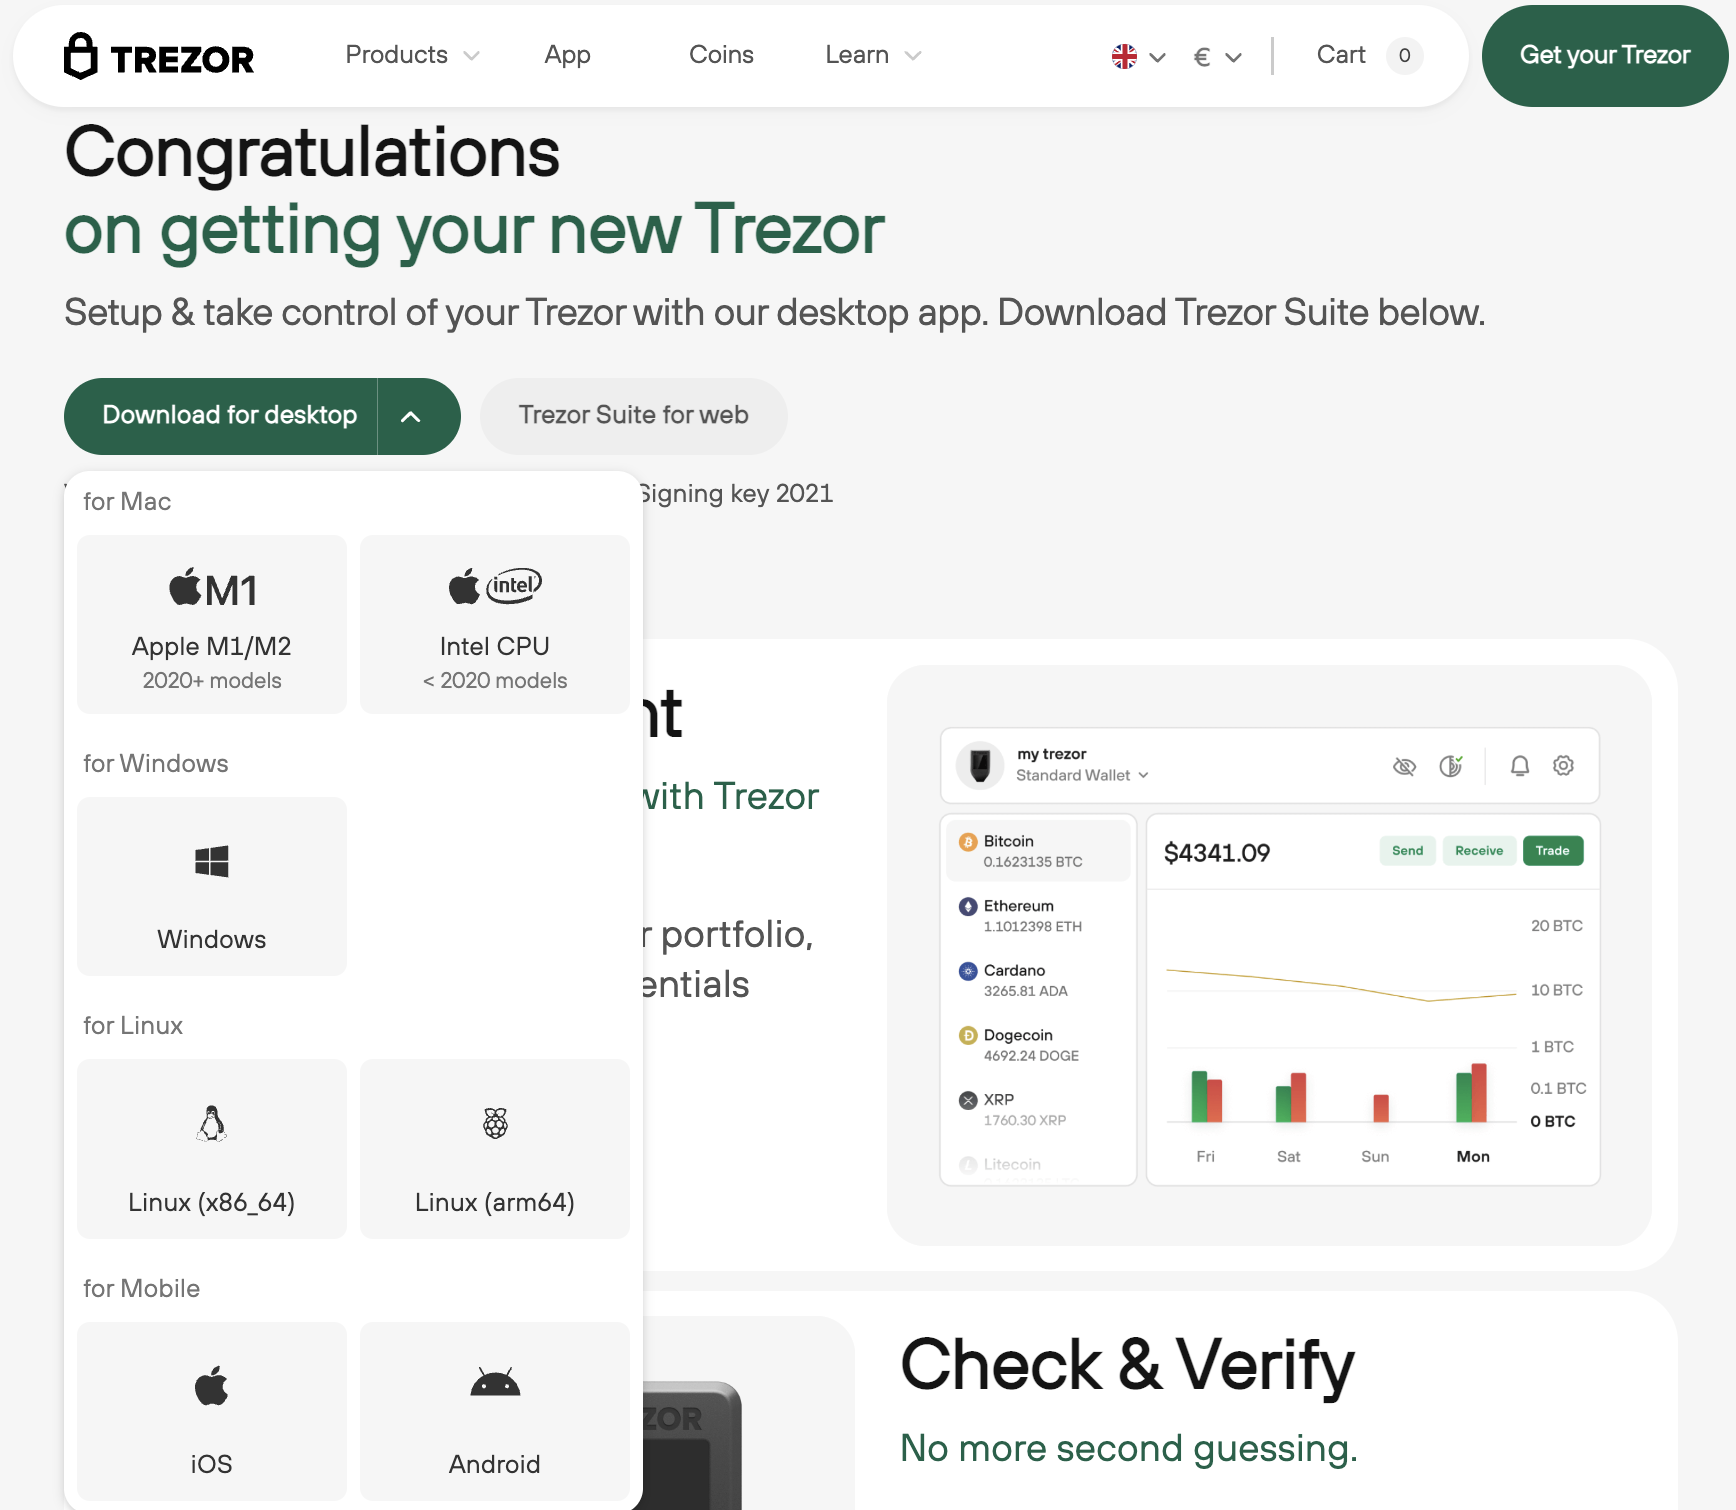
The first step is to download the Trezor Suite app, which serves as the interface between your hardware wallet and your computer.
Navigate to the Get Desktop App section. I'm using a Mac, so I'll choose the version for Mac.
Save the file, and depending on your internet speed, the download should complete fairly quickly. Once the Trezor Suite app is downloaded, you'll be prompted to open it.
2. Connect Your Trezor
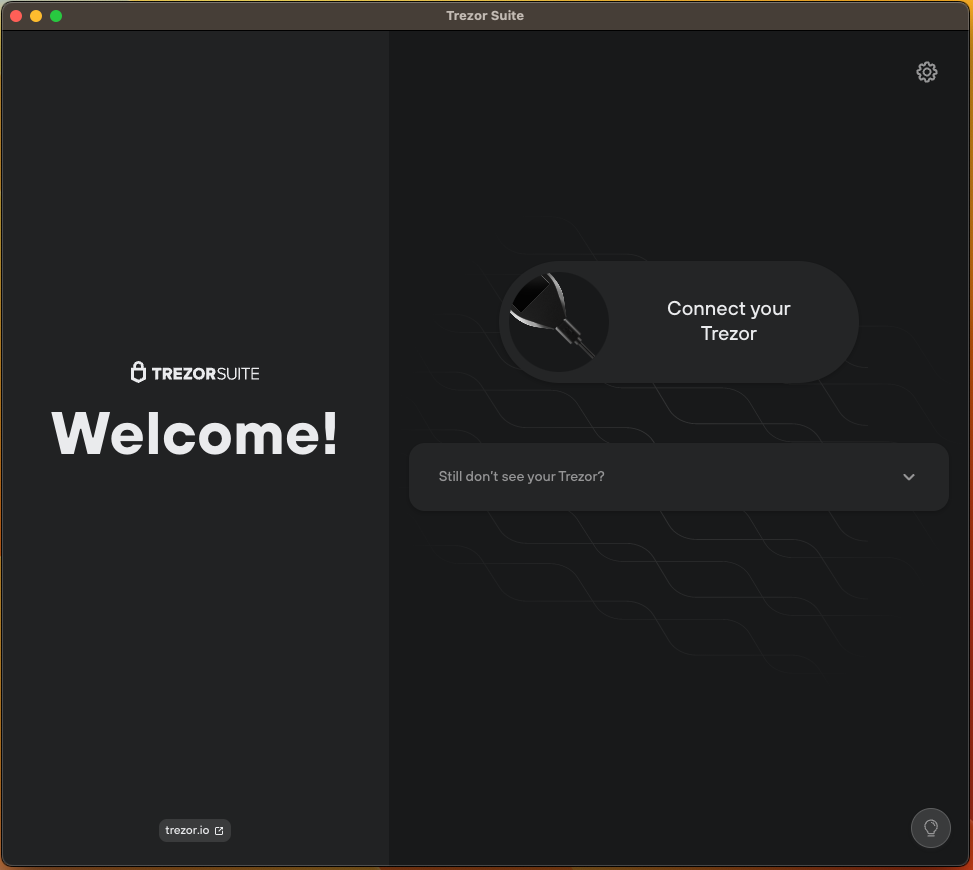
Once, you've downloaded and opened the Trezor Suite app, you will be prompted to connect the Trezor device to your laptop using the provided USB cable. Once connected, on your computer, open the Trezor Suite app.
You'll see a Setup Trezor option, followed by an estimate stating that the process takes approximately five minutes. However, based on my experience, it may take closer to 10-15 minutes to complete the setup. Click to proceed.
At this point, you'll be asked to create a numerical PIN code for your device. This is numerical password used to activate the device once it is connected to your computer.
Adding a PIN is essentially one more layer of security. Just ensure that if you're passing the Trezor to descendants or heirs, they know the PIN.
Warning: After about 15 to 20 wrong attempts, the device will reset itself, erasing all its data. So, choose a PIN you or your family commonly uses.
3. Install your chosen firmware
Upon initial setup, you'll be prompted to choose between two firmware options: Universal or Bitcoin-only.
If you're exclusively dealing with Bitcoin, selecting the Bitcoin-only firmware could, in theory, offer additional security benefits. Opting for Bitcoin-only firmware minimizes the code running on your device, which in turn could reduce the frequency of updates compared to the Universal firmware. Fewer updates often means less code and therefore less chance for bugs or security vulnerabilities to creep in!
More info can be found on the company page.
The firmware installation usually happens quickly and you'll see an "installing" graphic on the device screen.
Use this time to prepare the cards for your personal recovery seed and have a pen at hand. If you haven't gathered these items yet, now's your chance!
CREATE NEW WALLET
After the firmware is installed, you'll be prompted to either create a new wallet or recover an existing one.
Since we're setting up a new device, select "Create New Wallet".
You'll then see a screen with three checkboxes, each requiring your acknowledgment:
- Your recovery seed backup lets you recover your funds in case of Trezor loss or damage.
- Never take a picture or make a digital copy of your backup.
- Store your recovery seed backup securely and never share it with anyone.
Once you've checked all three boxes, confirming that you understand the guidelines, it's time to begin the backup process. This step may take some time, but it's crucial for securing your Trezor and all associated wallets.
Before proceeding, let's analyze what is meant by Seed Phrase.
What is a Seed phrase?
This seed phrase is essentially a human-readable representation of your wallet's "secret" or master key for your cryptocurrency wallet.
This seed phrase very important as it allows you to recover your wallet and its associated funds in case you lose access to it due to hardware failure, forgetting your password, or any other reason.
It is typically a sequence of 12, 18, or 24 words generated when you first set up your wallet.
The reason for converting the secret into a word-based format is simple: humans find it easier to note down and recall a series of words than a long string of random numbers and letters.
When you input the seed phrase into a compatible wallet, the software converts those words back into the cryptographic secret (the device's master key).
It's crucial to store this seed phrase securely, usually written down on a physical piece of paper or a metal backup, and kept in a safe place.
Important Note: Losing your seed phrase usually means losing access to your wallet and its contents forever. Also, anyone who gains access to your seed phrase gains control over your assets, so it's crucial to keep it confidential and secure.
When setting up a new wallet, you'll often be guided through a backup process, during which your seed phrase will be displayed. This is usually the only time you will see it displayed, and you're advised to write it down and store it securely.
1. Backup the Wallet

Select "Create backup"
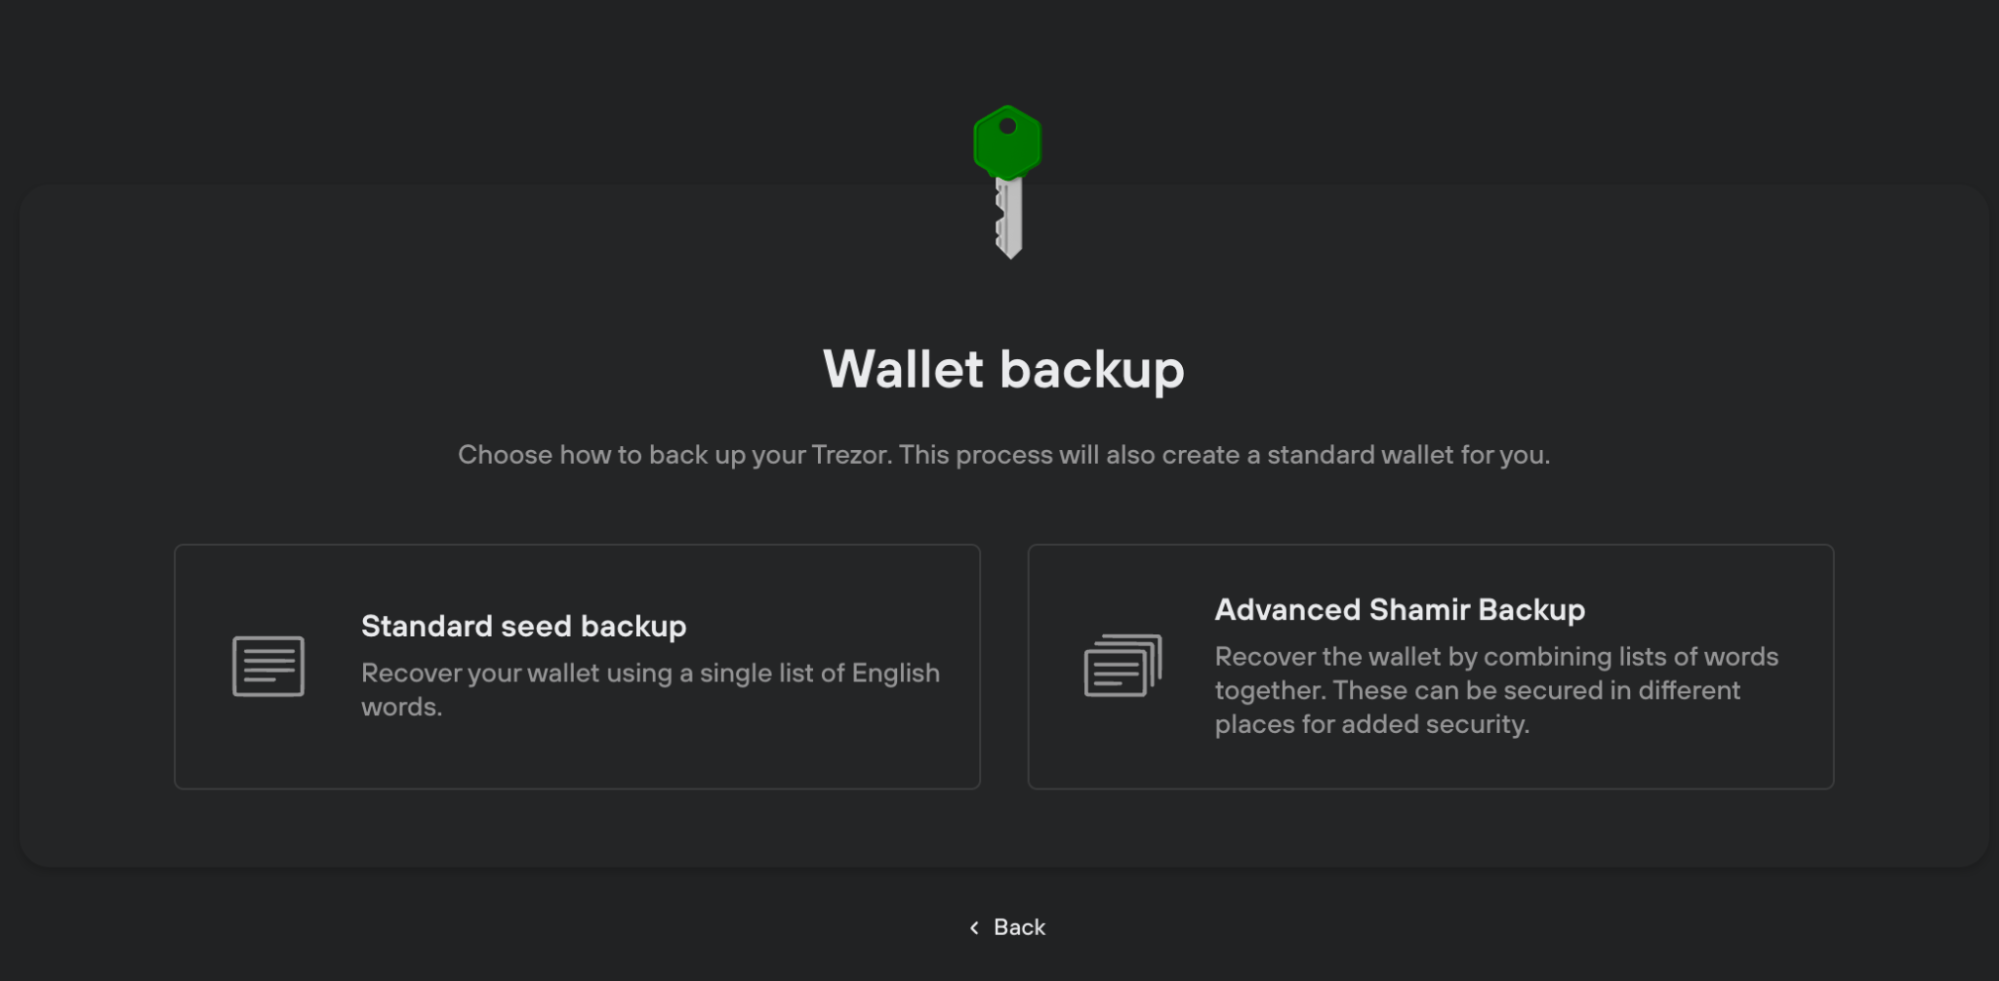
You will be presented a choice between standard seed backup and advanced Shamir Backup.
2. Select Backup Option
Standard Seed Backup vs Shamir Backup
The Trezor Model T is the first and currently the only wallet globally to implement the robust SLIP-0039 security standard, also known as Shamir Backup. This security protocol is rooted in a cryptographic algorithm developed by Adi Shamir, known as Shamir's Secret Sharing.
Shamir's Secret Sharing is a mathematical method that splits a secret into multiple parts, ensuring that only a specific number of those parts (threshold) can reconstruct the original secret.
This means that even if one of the shares falls into the wrong hands, it remains useless without the required number of other parts.
Trezor Model T Users can set the threshold and specify the minimum number of recovery shares needed to access the wallet.
The threshold denotes the minimum number of shares required to reconstruct the original secret. If you choose a 2-of-3 scheme: You'll get 3 24-word seed phrases and you'd need at least 2 to recover your secret.
Though you can generate up to 16 recovery shares, a straightforward yet highly secure 2-of-3 threshold scheme for optimal wallet recovery should be enough. Although, the threshold is down to you.
On the other hand, the Standard Seed Backup is a simple and single collection of 24 words.
The Shamir Backup option is the most secure, although, you do need to keep each seed phrase both safe and accessible, which can feel a bit daunting.
However, I think that the inherent security it offers outweighs those initial reservations, as the method allows you to distribute the risk, placing each seed in a different location, thereby ensuring that a single event, like a theft or natural disaster, doesn't compromise the entire wallet.
It's like diversifying an investment; instead of putting all your eggs in one basket, you spread them out, reducing the risk of total loss.
2. Write Down Your Seed Phrase
You'll be prompted by the Trezor Suite to write down the series of words generated by your device. It's essential to get this right; any errors can lead to irreversible loss of access to your wallet.
Your device will start displaying the seed phrase word by word. Write down each word in the numbered spaces on one of the provided cards, or a piece of paper (I reccomend card). If you chose Shamir backup, you'd need multiple sheets of paper, beyond the two cards provided by Trezor.
After jotting down the first word, click 'Next' on your device to reveal the second word, and so on. Stay focused throughout the process; distractions can lead to mistakes that can't be easily corrected.
Once you've successfully recorded your seed phrase twice, you'll see a 'Finish' prompt on your device.
SET UP TREZOR LIVE
You will be redirected to Trezor Suite landing screen.
With your device still connected, type in your PIN.
You'll be guided through an initialization process. This involve selecting your wallet type.
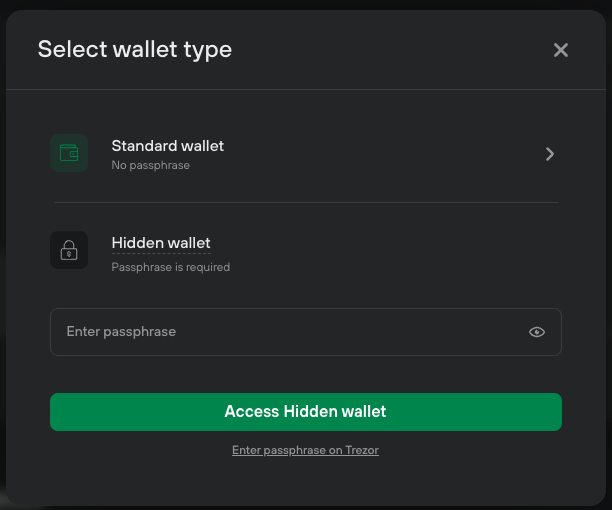
You can opt for standard or you can choose a passphrase. The passphrase acts as a 25th word to your seed phrase but isn’t saved anywhere. It’s essential to remember it if you choose to use one.
You'll also be asked to activate the coins you use on the app.

Firmware Update:
It's a good practice to ensure your Trezor device is running the latest firmware. The Trezor Suite will notify you if an update is available. Follow the prompts to install. This enhances your security and ensures compatibility with the latest features and tokens.
Dashboard Access
Once initialized, you will be taken to the Trezor Suite dashboard. Here, you can view your balances, transaction history, and send or receive cryptocurrencies.

Congratulations! Your Trezor device is now set up and ready to safely manage your crypto assets. Remember to store your seed phrase in a secure location and consider having multiple secure backups. Your seed is the key to your funds, so treat it with the utmost care.
About the Author