If you've ever tried to build a new habit or break an old one, you'll know that consistency and tracking your progress are key. Today, we're going to build a habit tracker component using React Native. This component will allow you to add habits to track, calculate how many days have passed since you started the habit, and reset a habit if needed.
Introducing the Habit Tracker Component
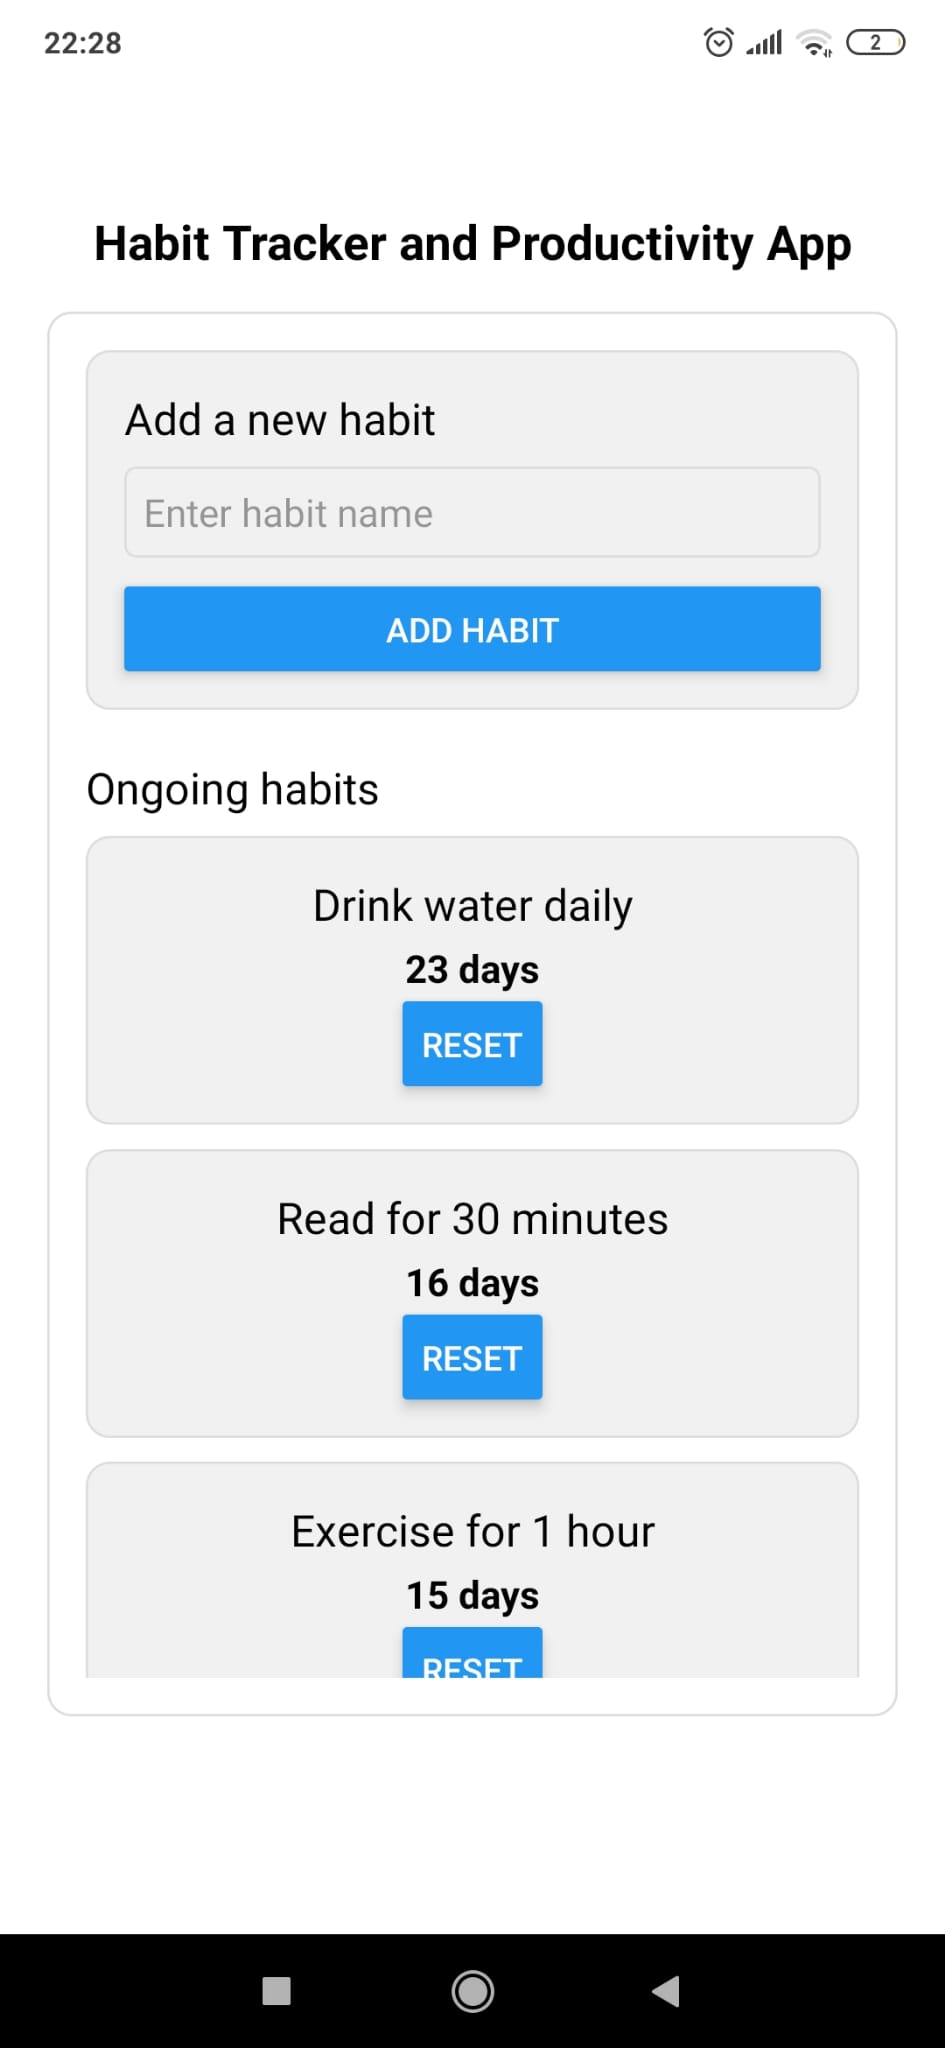
The Habit Tracker component we're building today works like this: 1. You add habits you want to track. 2. For each habit, the tracker displays the name of the habit and the number of days since you started the habit. 3. You can reset a habit, which starts the count from zero again.
House Keeping
Begin by setting up an Expo App, specifically choosing the TypeScript template for your project. This will lay the groundwork for the application structure.
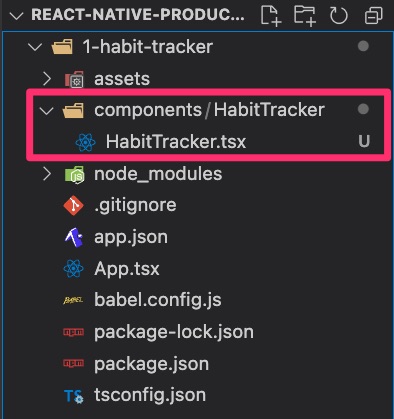
Next, establish a components directory within your project. This is where we will house the modular pieces of our application. Inside the components directory, create a subdirectory. Within this subdirectory, create a new file named HabitTracker.tsx.
- In your new file, at the very top, type the emet shortcut rnc and hit tab. That should generate the following starter code.
import { Text, View } from 'react-native'
import React, { Component } from 'react'

export default class HabitTracker extends Component {
  render() {
    return (
      <View>
       <Text>HabitTracker</Text>
      </View>
    )
  }
}
- Remove the default code in App.tsx and add the following:
import React from "react";
import { View, Text, StyleSheet } from "react-native";
import HabitTracker from "./components/HabitTracker/HabitTracker";

export default function App() {
  return (
    <View style={styles.container}>
      <Text style={styles.greeting}>Habit Tracker and Productivity App</Text>
      <HabitTracker></HabitTracker>
    </View>
  );
}

const styles = StyleSheet.create({
  container: {
    flex: 1,
    alignItems: "center",
    justifyContent: "center",
  },
  greeting: {
    fontSize: 20,
    fontWeight: "bold",
    margin: 16,
  },
});
The App function is the main component that gets rendered in our application. Within it, we are returning a View component (which is the equivalent of a div in HTML). Inside this View, we have a Text component to display the greeting "Habit Tracker and Productivity App" and the HabitTracker component we imported.
Build Out the Component Step by Step
The Complete Code
Paste the following code into HabitTracker.jsx:
import {
  Button,
  Text,
  StyleSheet,
  TextInput,
  View,
  ScrollView,
} from "react-native";
import React, { useState } from "react";

export default function HabitTracker() {
  // We use state to manage an array of habits, each with a name and created date
  const [habits, setHabits] = useState([
    { name: "Drink water daily", created: "2023-05-01" },
    { name: "Read for 30 minutes", created: "2023-05-08" },
    { name: "Exercise for 1 hour", created: "2023-05-09" },
    { name: "Meditate for 10 minutes", created: "2023-05-07" },
  ]);

  // We use another state variable for the input field where users enter a new habit
  const [habitName, setHabitName] = useState("");

  // This function is called when we want to reset a habit
  const handleResetHabit = (habitName: string) => {
    // Map over the habits array
    const updatedHabits = habits.map((habit) => {
      // If we find the habit to reset
      if (habit.name === habitName) {
        // Reset the 'created' field to today's date
        return {
          ...habit,
          created: new Date().toISOString().split("T")[0],
        };
      }
      // Otherwise, return the habit as is
      return habit;
    });
    // Update the habits state with the updated array
    setHabits(updatedHabits);
  };

  // This function is called when we submit a new habit
  const handleSubmit = () => {
    // Only proceed if the input field is not empty
    if (habitName.trim()) {
      // Create a new habit object
      const newHabit = {
        name: habitName,
        // We use the current date as the created date
        created: new Date().toISOString().split("T")[0],
      };
      // Add the new habit to the array and clear the input field
      setHabits([...habits, newHabit]);
      setHabitName("");
    }
  };

  // Helper function to calculate the number of days since a habit was created
  const daysSinceCreated = (created: string): number => {
    const createdDate = new Date(created);
    const currentDate = new Date();
    const msPerDay = 24 * 60 * 60 * 1000;

    // Calculate the difference between the two dates in milliseconds
    const msDifference = Math.abs(
      currentDate.getTime() - createdDate.getTime()
    );

    // Convert the difference in milliseconds to days
    const daysPassed = Math.floor(msDifference / msPerDay);

    return daysPassed;
  };

  // The render method returns the JSX to render
  return (
    <View style={styles.container}>
      {/* Form to add a new habit */}
      <View style={styles.formContainer}>
        <Text style={styles.label}>Add a new habit</Text>
        <TextInput
          style={styles.input}
          value={habitName}
          onChangeText={setHabitName}
          placeholder="Enter habit name"
        />
        <Button title="Add Habit" onPress={handleSubmit} />
      </View>
      {/* Display the ongoing habits */}
      <Text style={styles.title}>Ongoing habits</Text>
      <ScrollView style={styles.list}>
        {habits.map((habit) => (
          <View key={habit.name} style={styles.habitItem}>
            <Text style={styles.habitName}>{habit.name}</Text>
            <Text style={styles.habitDays}>
              {daysSinceCreated(habit.created)} days
            </Text>
            <Button
              title="Reset"
              // On press, we call handleResetHabit with the name of this habit
              onPress={() => handleResetHabit(habit.name)}
            />
          </View>
        ))}
      </ScrollView>
    </View>
  );
}

const styles = StyleSheet.create({
  container: {
    width: "90%",
    borderColor: "#ddd",
    borderWidth: 1,
    borderRadius: 10,
    padding: 15,
    marginBottom: 20,
  },
  list: {
    height: 350,
  },
  title: {
    fontSize: 18,
    marginBottom: 8,
  },
  habitItem: {
    backgroundColor: "#f1f1f1",
    borderColor: "#ddd",
    width: "100%",
    borderWidth: 1,
    height: 120,
    borderRadius: 10,
    padding: 15,
    marginBottom: 10,
    flexDirection: "column",
    justifyContent: "space-between",
    alignItems: "center",
  },
  habitName: {
    fontSize: 18,
  },
  habitDays: {
    fontSize: 16,
    fontWeight: "bold",
  },
  formContainer: {
    backgroundColor: "#f1f1f1",
    borderColor: "#ddd",
    borderWidth: 1,
    borderRadius: 10,
    padding: 15,
    marginBottom: 20,
  },
  label: {
    fontSize: 18,
    marginBottom: 8,
  },
  input: {
    borderWidth: 1,
    borderColor: "#ddd",
    borderRadius: 5,
    paddingHorizontal: 8,
    paddingVertical: 4,
    marginBottom: 12,
    fontSize: 16,
  },
});
You can also pull the demo code from Github, here.
About the Author